
Integration & Compatibility
Outdoor Enclosure Base and Mounting: Plinth, Anchor, and Cable Entry
How high to raise an outdoor electrical enclosure, which anchors to specify, and where the cable should enter — a buyer's guide to mounting cabinets that survive real site conditions.
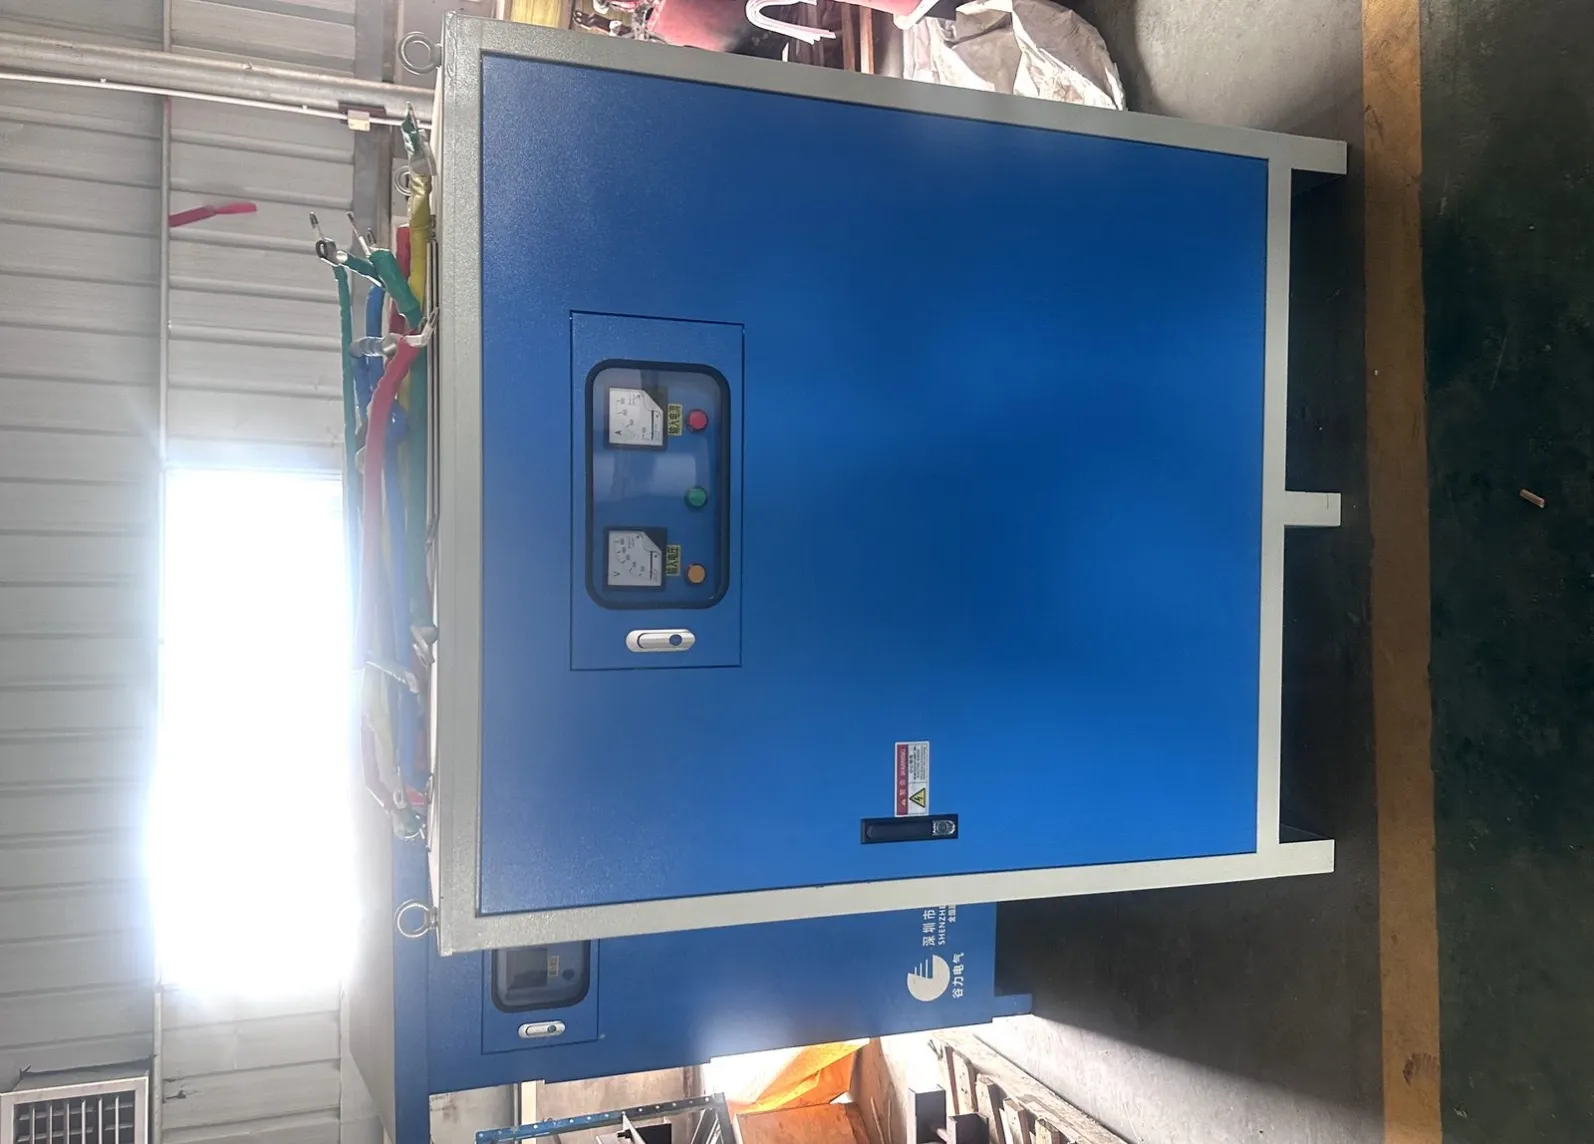
Most outdoor enclosure failures do not start at the door gasket or the paint. They start at the bottom 300 mm—the part of the cabinet nobody specifies properly. Water pools against the base, the gland plate is drilled on site with a holesaw and never resealed, the plinth is 50 mm short of the local flood line, and eighteen months later you are replacing a cabinet that was never actually defective.
This guide covers the base decision end to end: how high to raise the enclosure, what the plinth should be made of, how to anchor it so it stays put, and how to bring cables in without creating a condensation problem. It is written for buyers specifying an outdoor enclosure or a skid-mounted panel—not for the installer reading a datasheet.
Before the base, the enclosure itself has to be right. Our electrical enclosure sourcing guide covers material, IP/NEMA rating, and thermal sizing; our electrical enclosures team builds to your drawings and site conditions.
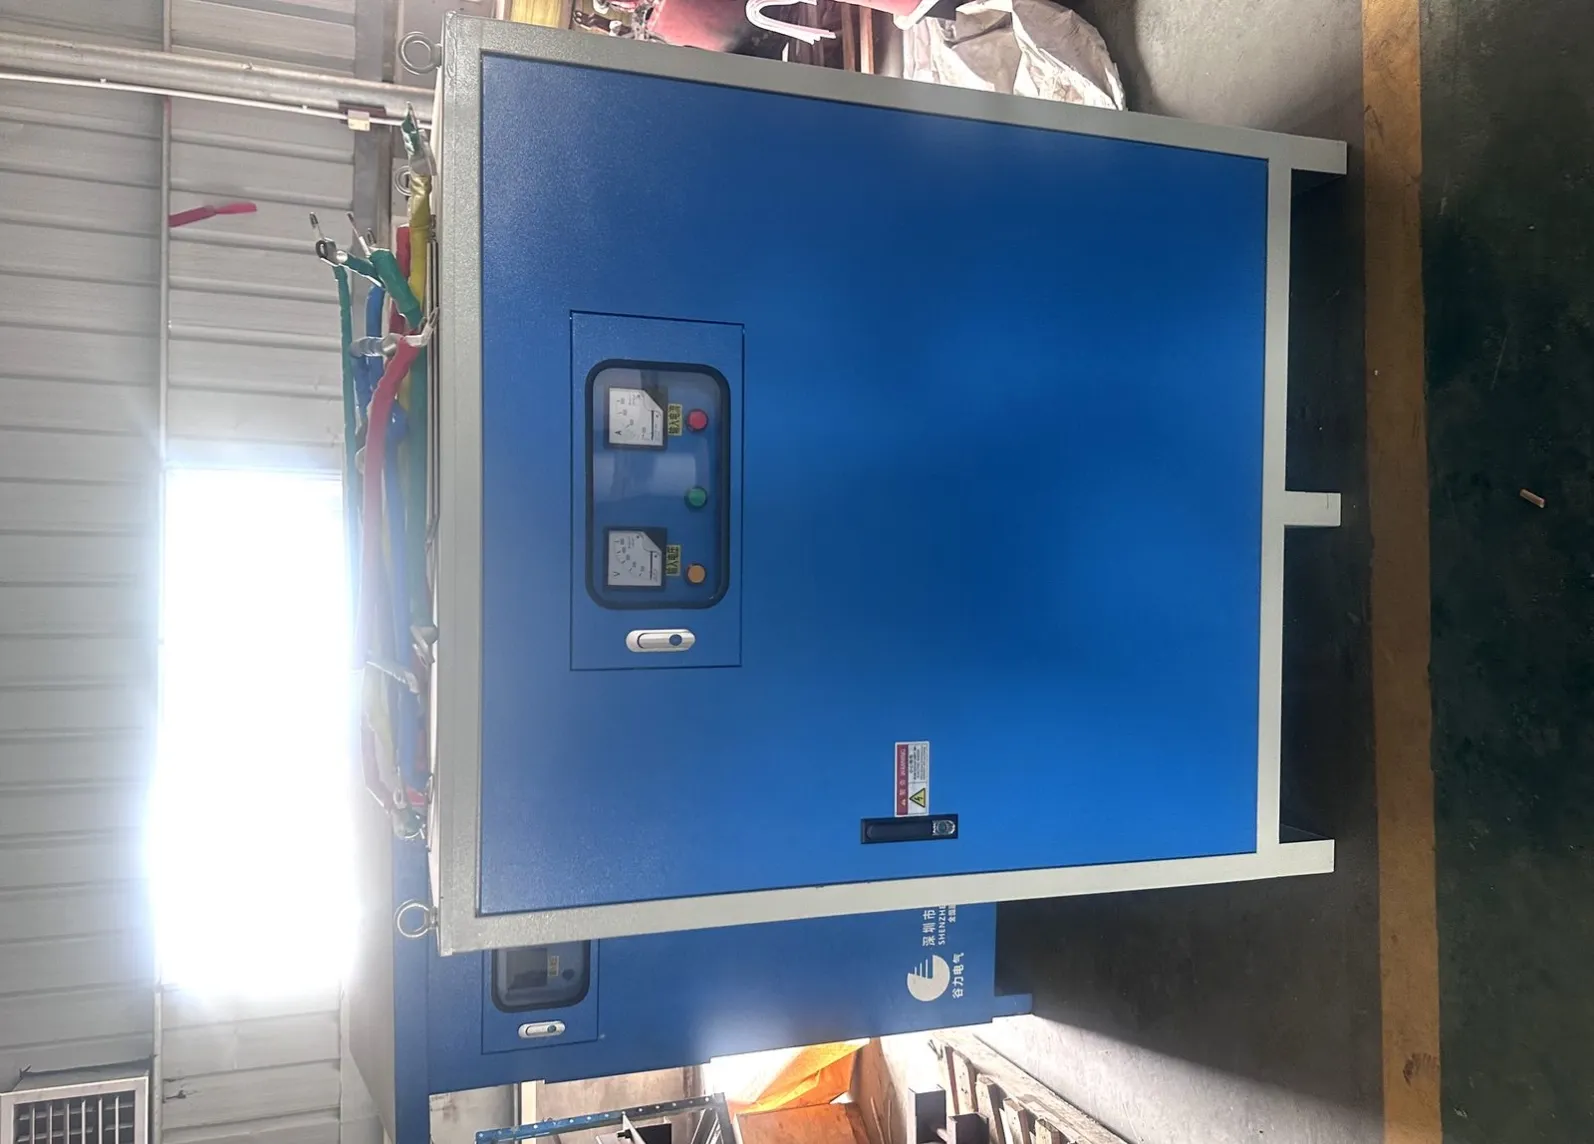
Why the base is a specification decision, not a site detail
Ask a supplier for an outdoor enclosure and you will get a quote for a box. The base is assumed to be "site "work"—the contractor's problem. That assumption is where the risk sits, because three of the most common outdoor enclosure failure modes are base problems:
Standing water and splash-back. Rain hits the ground, bounces, and wets the bottom 100–200 mm of the cabinet continuously. Even an IP66-rated enclosure is tested as a closed box; the test does not cover a base sitting in a puddle for weeks. The gasket is usually fine. The bottom seam is not.
Cable entry done late. The gland plate is drilled on site because nobody fixed cable quantities and outer diameters at the order stage. A holesaw cut through a powder-coated or stainless floor, plus unsealed spare holes, is the single most common path for water and insects into an outdoor cabinet.
Differential settlement and door binding. A cabinet bolted to an uneven pad twists. The frame goes out of square, the door drags on the latch, and the gasket compression becomes uneven—so the IP rating you paid for no longer holds on one corner.
Engineering Note. A cabinet does not leak because the IP rating was wrong. It leaks because the base detail broke the assumption the rating was tested under. Fix the base and a correctly rated enclosure performs. Skip the base and no rating saves you.
Step 1—Decide the mounting height.
There is no universal "correct" height, but there is a correct way to derive it. Work from your worst site condition, then add margin.
Site condition | Recommended clear height (bottom of cabinet to finished grade) | Why |
|---|---|---|
Dry, paved, no washdown | 100 mm | Keeps the base off splash-back and allows drainage underneath |
Paved but hosed down periodically | 150–200 mm | Let the washdown water drain away instead of pooling at the seam. |
Unpaved / gravel / soil | 200–300 mm | Keeps the base clear of mud, vegetation, and rodent contact |
Known flood or storm-surge zone | historical high-water mark + 300 mm minimum | Standard insurance and continuity requirement |
Snow belt | local design snow depth + 150 mm | Prevents snow burial and ice bridging against the door |
Food & beverage washdown (caustic) | 300–600 mm on legs or a hygienic plinth | Allows full under-cabinet wash and inspection |
Two rules buyers consistently get wrong:
Rule 1 — measure to finished grade, not to the current dirt. If the pad has not been poured yet, the drawing must state the finished floor level, and the enclosure base height must be dimensioned from it. "200 mm above ground" is not a specification.
Rule 2 — the height you need is the height that keeps the door operable. A cabinet raised 300 mm on a plinth still needs the door to swing clear of the plinth edge and any adjacent structure. Check the swing envelope on the drawing, not just the elevation.
Buyer Decision. If you cannot name your worst site condition, you are not ready to specify the height. Go get the site photo and the flood/snow history first — it costs one phone call and it prevents the most expensive kind of rework, which is rework on installed equipment.
Step 2—Choose the base type
Four options cover nearly every project. Pick on a scoring basis rather than on habit.
Option | Best for | Watch out for | Relative cost |
|---|---|---|---|
Concrete plinth / pad (poured on site) | Permanent installations, flood zones, heavy cabinets | Cure time before anchoring; needs a formwork drawing; hard to relocate | Medium (site labor dominates) |
Steel channel / skid base (welded to or under the cabinet) | Skid-mounted packages, containerized systems, and relocatable units | Must be painted or galvanised to the same standard as the cabinet; adds lifting weight | Medium |
Factory plinth (bolt-on, supplied with the cabinet) | Standard heights, clean washdown areas, fast installation | Usually limited to fixed heights (100/200 mm); may not suit flood zones | Low |
Legs / adjustable feet | Hygienic washdown, uneven floors, small wall-mount cabinets | Least resistant to lateral load; not for tall floor-standing cabinets in wind | Low |
Scoring matrix—use this to shortlist. Score each option 1 (poor) to 5 (excellent) against your own project; the highest total wins.
Criterion | Concrete plinth | Steel skid base | Factory plinth | Legs / feet |
|---|---|---|---|---|
Flood / water protection | 5 | 3 | 3 | 4 |
Washdown access underneath | 2 | 4 | 2 | 5 |
Relocatability | 1 | 5 | 3 | 4 |
Lateral / wind / seismic resistance | 5 | 4 | 3 | 1 |
Install speed | 2 | 4 | 5 | 5 |
Corrosion life in a coastal/chemical site | 4 | 3 | 3 | 3 |
Cost predictability (budget stage) | 2 | 3 | 5 | 5 |
Suits very tall / heavy cabinets | 5 | 4 | 2 | 1 |
If your top two scores are within 3 points, decide on the site constraint that cannot be changed: flood line, washdown requirement, or relocation.
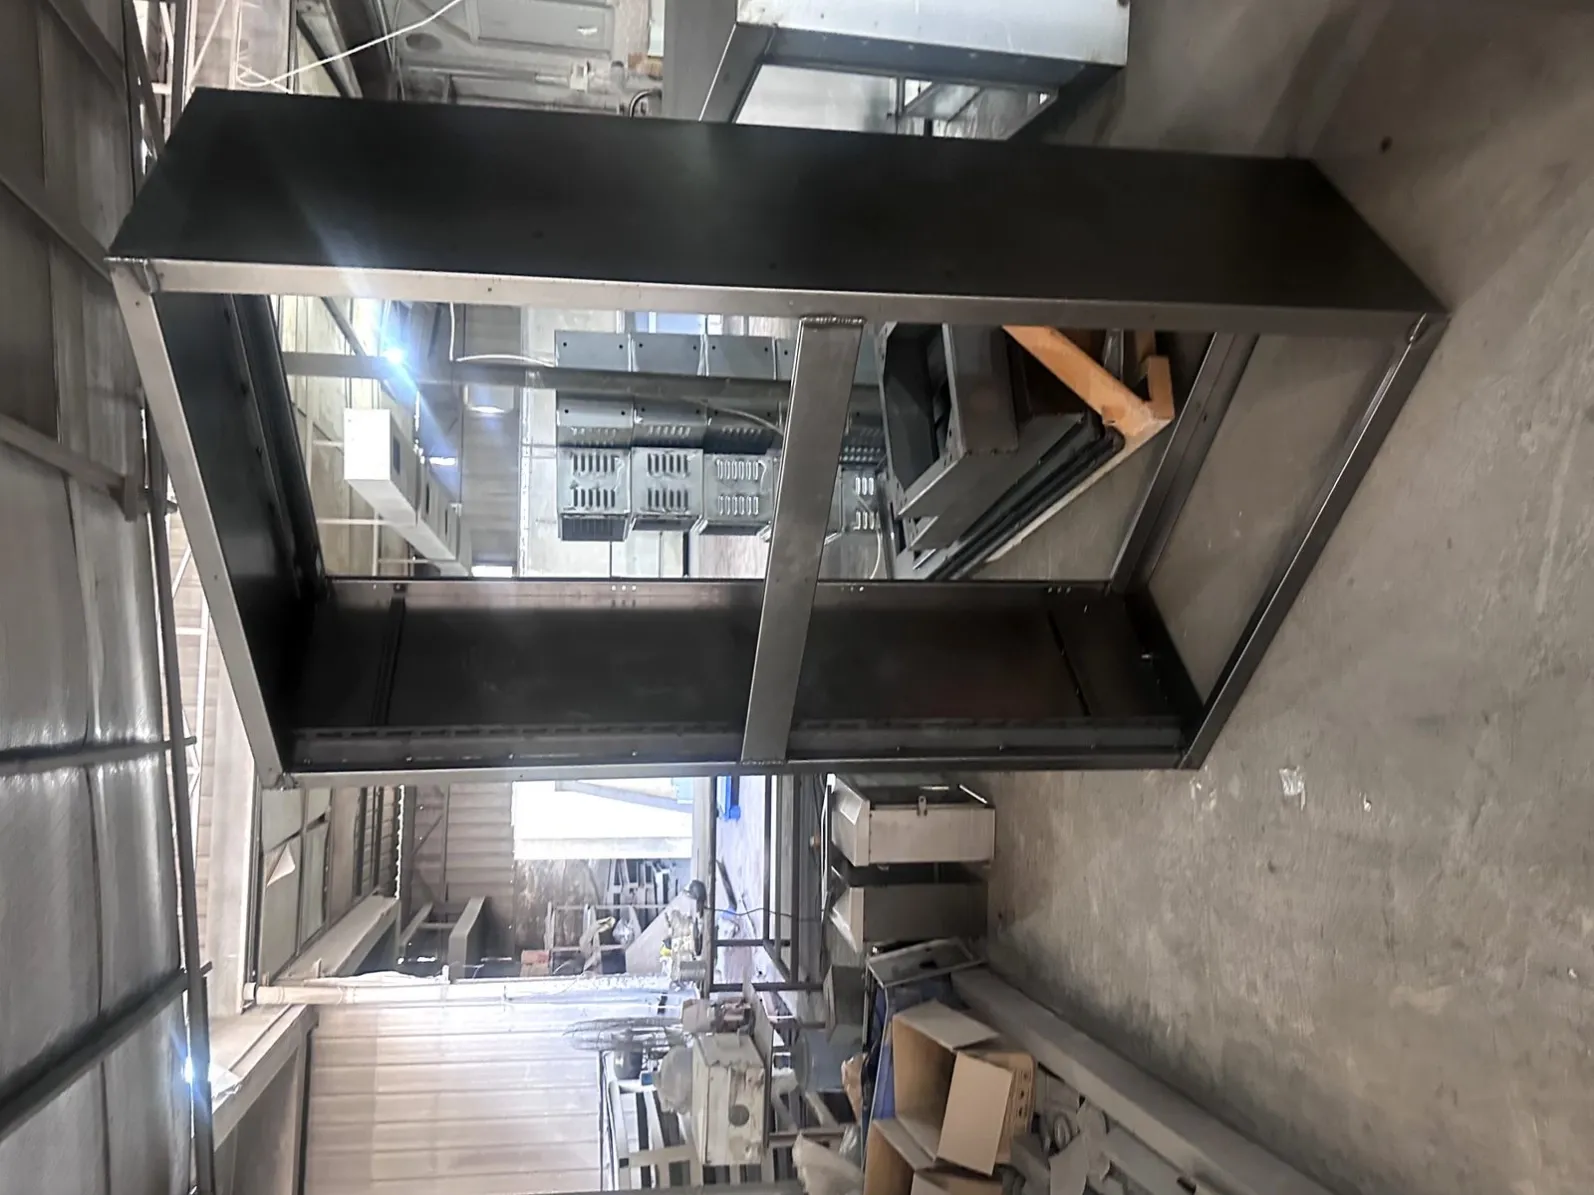
Step 3—Match the base material to the cabinet.
The base is the part of the assembly exposed to the most aggressive conditions and inspected the least. Material mismatch is a slow, expensive failure.
What we build with and where each fits:
- Carbon steel, painted. The default is is for indoor and sheltered outdoor use and the lowest cost. For an outdoor base, painted carbon steel needs a coating system specified by the environment—not "standard grey paint." In coastal or chemical sites, the base coating is the first thing to fail.
- Galvanized (zinc-coated). A meaningful step up for outdoor bases and skid frames where the budget does not allow stainless. Sacrificial protection means scratches do not immediately rust through.
- 304 stainless. The standard choice for food and beverage, water and wastewater, and most general outdoor corrosion environments.
- 316 / 316L stainless. Where chlorides are present—coastal salt spray, de-icing salt, swimming pool plant rooms, and any washdown using chlorine-based sanitizer. If your site is within a few hundred meters of the sea, or your cleaning regime uses hypochlorite, specify 316 for the base even if the cabinet body is 304.
Engineering Note. We do not supply aluminium enclosures. For outdoor bases specifically that is deliberate: aluminium in direct contact with wet concrete or with dissimilar metal anchors creates a galvanic couple that pits the base from the underside, where it is invisible until it is structural.
If the cabinet is stainless and the base is carbon steel, isolate them. A non-metallic barrier or a full-height stainless plinth avoids the contact corrosion that otherwise appears at the bolt line within two seasons.
Our 304 vs 316 stainless enclosure comparison and our galvanised vs stainless cost comparison both go deeper on choosing between these for outdoor duty.
Step 4—Anchor it properly.
Height and material decide how the cabinet sits. Anchoring decides whether it stays there.
Three anchoring methods, in order of reliability:
- Cast-in anchor bolts. Set into the concrete while it is poured, positioned using a template. Most reliable, but requires the base drawing before the pour and allows no positional error. Use for heavy floor-standing cabinets and any seismic or high-wind site.
- Chemical (resin) anchors. Drilled after the pour, so they tolerate layout changes. Sensitive to hole cleaning and cure conditions—a dusty, damp hole halves the capacity. Use where the pour has already happened or positions may shift.
- Mechanical expansion anchors. Fastest and cheapest, but the least tolerant of vibration and of edge-distance mistakes. Acceptable for light wall-mount cabinets on sound concrete; avoid as the sole fixing for tall outdoor floor-standing cabinets.
What must appear on your base drawing:
- Anchor type, size, and embedment depth
- Edge distance and spacing (too close to the pad edge and the concrete spalls)
- Number and position of anchors—one per corner minimum, plus intermediate anchors on cabinets wider than roughly 1,200 mm
- Concrete grade and required cure time before loading
- Whether the base is to be grouted under after levelling (recommended for heavy cabinets—it transfers load and stops the frame from flexing)
Buyer Decision. Do not let anchoring be "the installer's standard practice". Standard practice on a mild indoor site is not standard practice in a 40 m/s wind zone or a seismic region. Name the anchor type on the drawing; it costs a line of text and it removes an argument after the fact.
Step 5—Get the cable entry right.
Bottom cable entry is normal for outdoor enclosures: it keeps the top and sides clean and lets water shed. It is also the detail most often improvised.
Specify the gland plate; do not leave it blank. A removable gland plate—drilled to your actual cable schedule—is far better than a blank floor drilled on site. To get one, your RFQ has to include:
- Number of cables
- Outer diameter of each cable (including armor, if armored)
- Whether any are signal/data cables that should be separated from power
- Whether conduit or trunking is arriving, and from which direction
- Number of spare ways you want sealed and capped for future use
Sealing, in order of importance:
- Correct gland type and size for each cable outer diameter—an undersized or oversized gland is a leak, not a detail.
- Sealing washer or gasket under the gland plate, plus even compression around the full perimeter.
- Unused holes fitted with blanking plugs rated to the enclosure's IP rating, not tape or a bolt.
- A drain/breather device at the lowest practical point if the environment produces internal condensation.
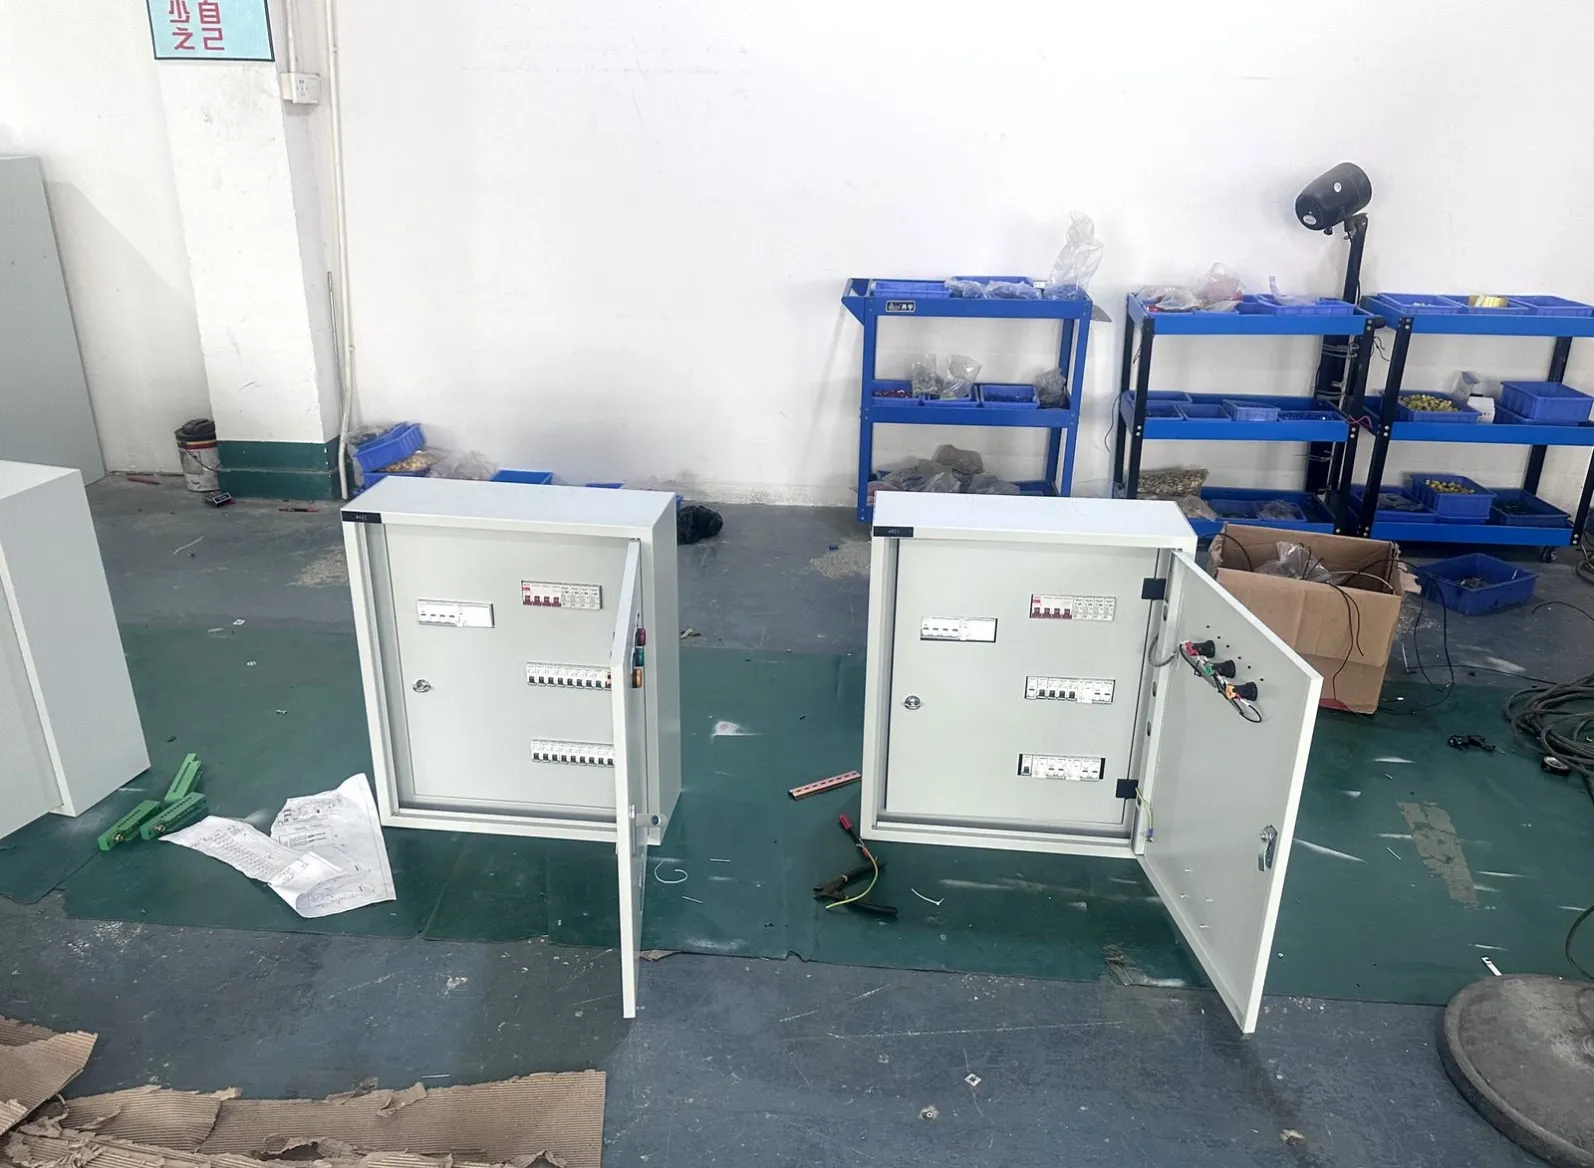
Engineering Note. Condensation inside an outdoor cabinet is usually blamed on the breather and caused by the cable entry. Unsealed spare holes let humid air move in and out with the daily temperature cycle, and that air is what condenses on cold internal surfaces. Seal the entry first, then size the breather. Our condensation guide covers the ordering of these fixes.
Where the site uses a cable trench or pit beneath the cabinet, the pit itself needs drainage and the duct ends need sealing. A trench that fills with water turns your gland plate into a permanent water bath regardless of how well it was sealed.
What we typically see go wrong on-site
These are the recurring base defects we encounter when a buyer sends photographs before an order, and they are all preventable at the specification stage:
- The plinth was poured 50–80 mm short of the level shown on the drawing because the finished floor level was never dimensioned.
- Gland plate drilled with a holesaw on site, leaving swarf inside the cabinet and unsealed spare holes.
- Cabinet bolted through the bottom panel instead of through the designated base/transport feet, which breaches the floor seal.
- No isolation between a stainless cabinet and a carbon steel base, with rust staining at the bolt line within the first year.
- Pad too small, so the cabinet overhangs and the rear anchors land in the edge zone of the concrete.
- No levelling before final torque, so the frame is pulled square by the anchors and the door binds.
Buyer Decision. Before you release the order, send your supplier three photographs: the site at cabinet position, the proposed base/pad drawing, and the conduit or trench approach. That is the cheapest engineering review you will ever buy.
Frequently asked questions
How high should an outdoor enclosure be off the ground?
100 mm minimum on a dry paved site; 150–200 mm where the area is hosed down; 200–300 mm over soil or gravel. In a flood zone, use the recorded high-water mark plus at least 300 mm. State the dimension from finished floor level, not from existing ground.
Should the plinth be concrete or steel?
Concret for permanent, heavy, or flood-exposed installations where lateral load matters. Steel skid base where the unit must be relocated or is part of a packaged plant. Factory bolt-on plinths for standard heights and fast installs. Use the scoring matrix above rather than defaulting to one.
Can I drill the cable entry on site?
You can, but it is the most common cause of water ingress. Order a drilled and sealed gland plate instead. It requires you to submit the cable schedule before manufacture, which is a small administrative cost against a large field risk.
Does a higher plinth make the cabinet less stable?
Yes, if the base is not engineered for it. Above roughly 300 mm, treat the plinth as a structural element: more anchors, grouting under the base, and a check on wind and seismic load. Legs and adjustable feet are not appropriate for tall cabinets in exposed sites.
Do I need 316 stainless for the base if the cabinet is 304?
If chlorides are present — coastal exposure, de-icing salt, chlorine-based washdown — yes. The base sits in the wettest, saltiest, least-inspected part of the assembly. Upgrading only the bottom 300 mm is a small premium against a structural repair.
What is the lead time for a custom outdoor enclosure with a specified base?
As a sourcing partner working with build shops in the Foshan network: a complete custom panel starts from 1 unit, with drawings and BOM reviewed before we confirm — typically 35–40 days. Empty enclosures and shells start at 5 units, around 15 days. Stocked components ship in 3–5 days. UL-listed builds are placed with a partner holding the relevant UL file, and the file number is provided in writing for verification.
What should I include in the RFQ to get an accurate base quote?
Site photographs, finished floor level, flood/snow history, cable schedule with outer diameters, preferred base type and height, material, and whether the cabinet will ever be relocated. Our enclosure RFQ checklist is the format we work from.
How much does an IP66 outdoor enclosure cost?
As an orientation figure for budget planning, IP66 outdoor cabinets in the sizes most buyers request typically fall in the $180–650 range depending on size, material, and single versus double wall. The base usually adds single-digit percentage to the cabinet cost but determines whether the cabinet survives.
Engineering Takeaway
The base is 10% of the cost and most of the risk. Decide height from your worst site condition plus margin, not from a default. Choose the base type with a scoring matrix rather than habit. Match the material to the wet, chloride-heavy environment at the bottom of the cabinet — 316 for the base is often justified when 304 is fine for the body. Name the anchor type on the drawing. And above all, convert the cable schedule into a drilled, sealed gland plate before manufacture, because the field-drilled alternative is how outdoor cabinets actually start failing.
Related guides
- Electrical enclosure sourcing guide — material, rating, and supplier qualification from the start
Get your enclosure base specified properly
Send us what you already have and we will come back with a buildable base detail:
- Enclosure or panel drawings, or a marked-up sketch
- Bill of materials with cable schedule and outer diameters
- Site photographs showing the cabinet position and the ground condition
- I/O list if the cabinet is part of a control panel build
Send it to info@uniregal.com or through our electrical enclosures page. If you prefer to upload drawings for engineering review, that route works too.
You will get a reply within one working day. Complete custom panels start from 1 unit after drawing and BOM review, 35–40 days; empty enclosures from 5 units, around 15 days; stocked components ship in 3–5 days. UL-listed builds are placed with a partner holding the relevant UL file, and we give you the file number in writing.